Park home condensation is one of the biggest worries park home owners have when they start researching insulation. And it’s a valid concern: done badly, insulation can increase the risk of “sweating” walls, mould, and that persistent musty smell.
The good news is this: insulation doesn’t automatically cause damp. Problems usually come from how the insulation is specified and installed, especially around ventilation, vapour control, and cold bridging.
This guide explains why park home condensation happens in park homes, what warning signs to look out for, and the practical steps that help you keep your home warmer without trapping moisture.
What condensation actually is (and what it isn’t)
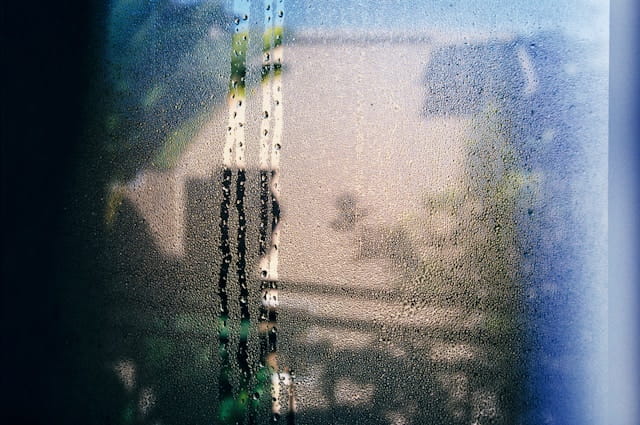
Condensation happens when warm, moisture-laden air hits a colder surface and the air can’t hold that moisture anymore. The water vapour turns into liquid water, often on windows, corners, behind furniture, or inside wall/floor voids.
It’s easy to confuse condensation with other types of damp:
- Penetrating damp: water getting in from outside (failed seals, roof leaks, damaged cladding, poor flashing).
- Rising damp: moisture travelling up through masonry (less common in park homes, which are typically raised off the ground).
- Plumbing leaks: localised wet patches that don’t follow temperature patterns.
Why it matters: the fix is different. Park home condensation is mostly about moisture management and temperature control; penetrating damp is about stopping water ingress.
Why park homes can be more prone to condensation
Park homes are built differently to brick houses. That doesn’t mean they’re “worse”, it just means they behave differently.
Common factors include:
- Lighter construction: park homes often cool down faster, so internal surfaces can be colder.
- Underfloor airflow: many park homes rely on subfloor ventilation. If vents are blocked or the underside is damp, moisture issues can show up indoors.
- Thermal bridging: framing members, fixings, and junctions can create cold lines where moisture condenses.
- Older insulation or gaps: patchy insulation creates cold spots (classic mould locations).
- Lifestyle moisture: cooking, showers, drying clothes indoors, and even breathing add litres of moisture per day.
Insulation changes the temperature profile of the building. That’s usually a good thing, but it also means you need to be deliberate about where moisture can safely go.
Does insulating a park home cause damp?
Not if it’s designed correctly. Insulation can actually reduce condensation by warming internal surfaces.
Where people run into trouble is when insulation is added:
- without checking ventilation routes,
- with the wrong materials for the build-up,
- with gaps that create cold spots,
- or without a clear vapour control strategy.
Think of insulation as one part of a system:
- Heat (insulation + reducing drafts)
- Moisture (source control)
- Ventilation (removing moisture safely)
If you improve heat retention but ignore moisture removal, you can tip the balance.
The most common causes of condensation problems after insulation
1) Blocked or reduced ventilation
A lot of park home condensation issues come down to airflow. Typical culprits:
- subfloor vents blocked by debris, plants, or new skirting
- kitchen/bathroom extractors not working properly
- trickle vents permanently closed
- airbricks covered during “tidying up”
Insulation upgrades sometimes coincide with “sealing up” the home, which can be great for comfort, but only if you maintain controlled ventilation.
2) Cold bridging (the hidden mould-maker)
Cold bridging is when heat escapes through a more conductive path (like timber studs, metal fixings, corners, junctions, or poorly insulated edges). Those areas become colder than the surrounding surfaces.
Moisture in the air finds those cold lines and condenses there, often showing up as:
- mould in corners
- mould behind wardrobes
- dark “shadowing” lines on walls
3) Gaps, compression, or poor fitting of insulation
Even good insulation performs badly if it’s:
- cut too small
- not sealed at edges
- compressed (reducing its effectiveness)
- interrupted by services without proper detailing
Patchy insulation = patchy surface temperatures = condensation hotspots.
4) Wrong material choice for the build-up
Some insulation systems are more forgiving than others.
In many park home scenarios, you want a build-up that:
- improves thermal performance,
- manages vapour movement,
- and reduces the risk of interstitial condensation (condensation inside the wall/floor build-up).
Using materials that trap moisture in the wrong place, or combining layers without a plan, can create problems that don’t show up immediately.
5) High internal humidity (moisture sources)
Even with good insulation, if indoor humidity stays high, condensation can persist.
Common moisture sources:
- drying clothes indoors
- long, hot showers without extraction
- cooking without lids/extractor
- unvented tumble dryers
- too many houseplants in small rooms
6) Underfloor moisture and poor ground conditions
If the ground beneath the home is damp, poorly drained, or has inadequate airflow, moisture can build up under the floor.
That can contribute to:
- cold floors
- musty smells
- mould at skirting level
- timber moisture issues over time
Warning signs to look out for
Catching condensation early makes it much easier to fix.
Look for:
- water droplets on windows most mornings
- mould spots in corners, behind furniture, or around window reveals
- peeling wallpaper/paint in cold areas
- musty odours that return after cleaning
- cold, clammy walls even when heating is on
- black staining along ceiling lines or external wall junctions
If you see localised staining that worsens after rain, or a single persistent wet patch, you may be dealing with a leak rather than condensation.
How to prevent park home condensation
Step 1: Control moisture at the source
You don’t need to live in a museum, but small habits make a big difference:
- use pan lids when cooking
- run bathroom extraction during and after showers
- vent tumble dryers properly
- avoid drying clothes on radiators (or ventilate aggressively if you must)
Aim for a steady indoor humidity rather than spikes.
Step 2: Keep ventilation working (especially subfloor)
Before and after insulation work:
- check subfloor vents are present, open, and unobstructed
- ensure new skirting doesn’t choke airflow
- verify kitchen/bathroom extractors are correctly sized and vented outside
Ventilation isn’t the enemy of warmth, uncontrolled drafts are. The goal is controlled ventilation.
Step 3: Reduce cold bridges with good detailing
Where possible:
- insulate continuously across junctions
- pay attention to corners, window reveals, and floor-to-wall edges
- seal gaps and penetrations properly
This is where professional installation can outperform DIY, because the “boring” details are what prevent future problems.
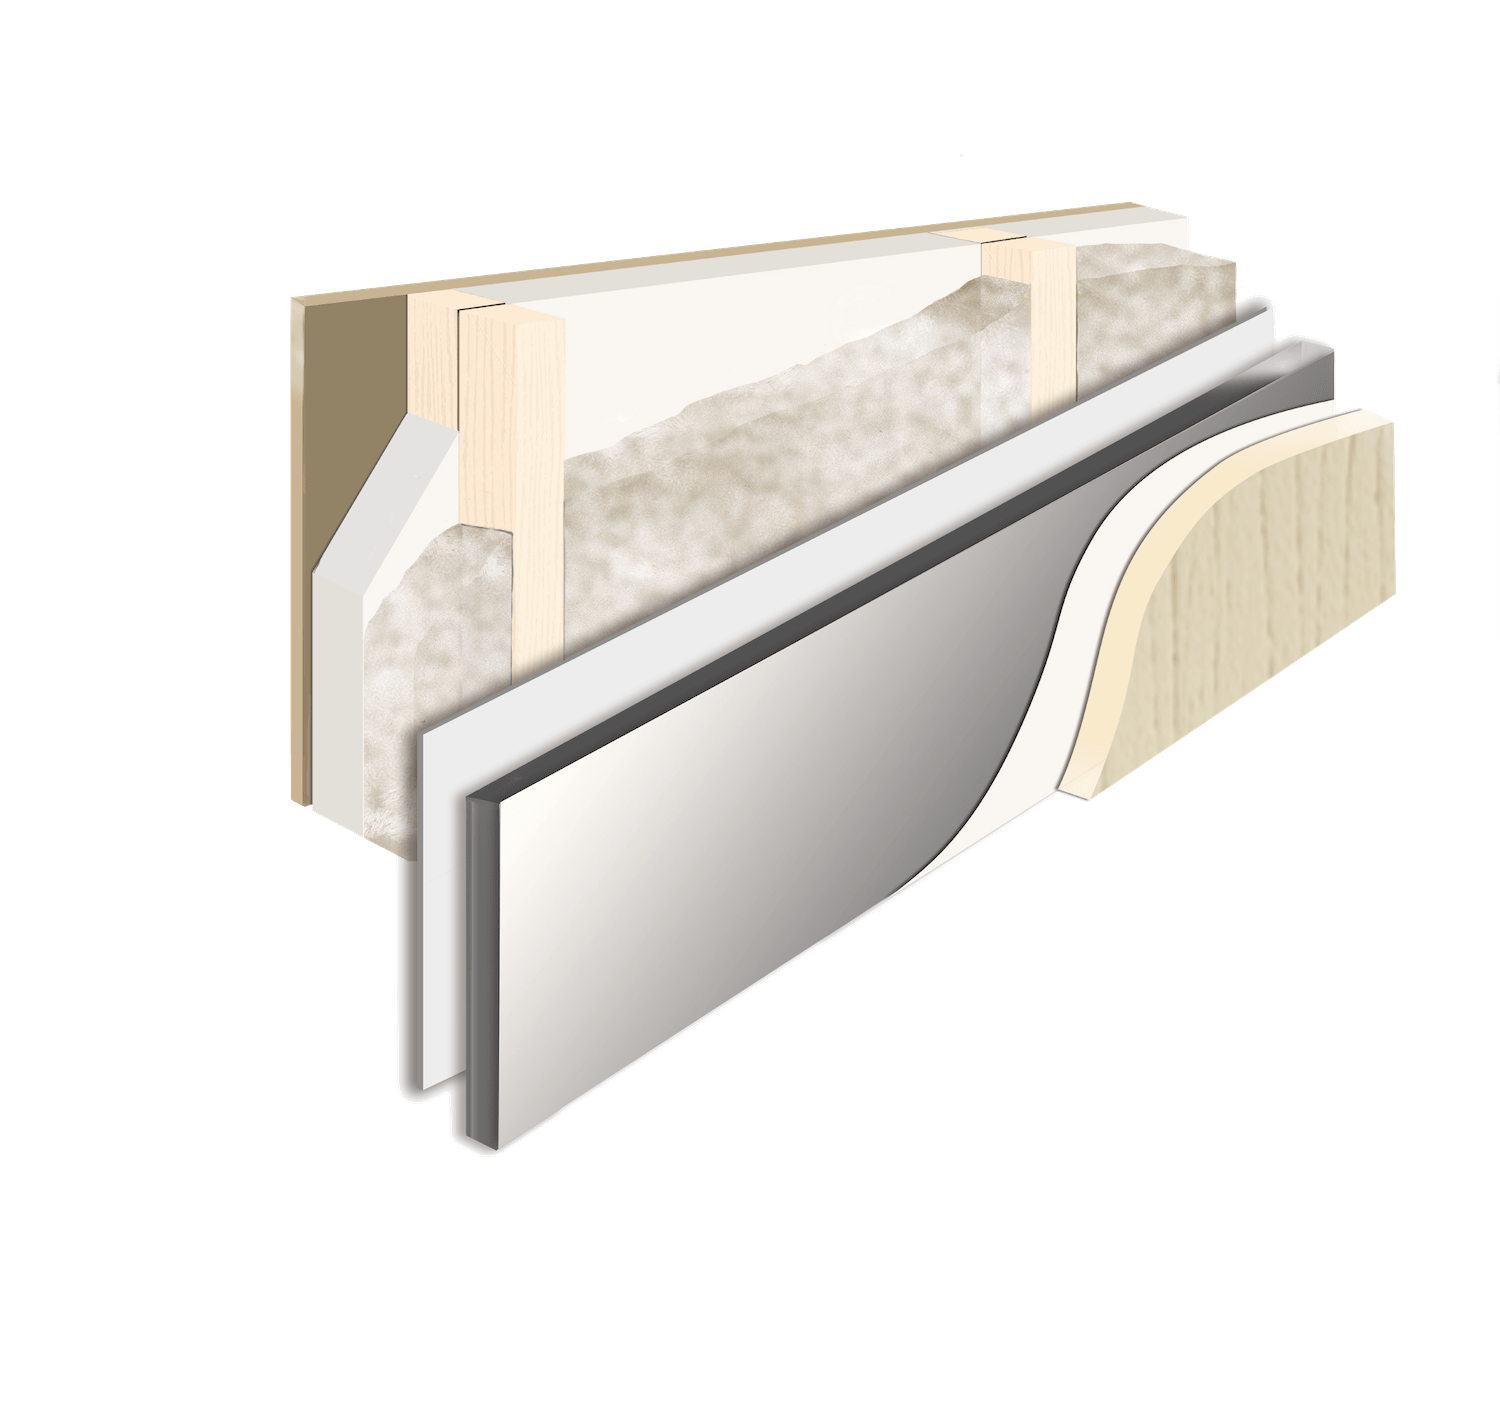
Step 4: Choose an insulation system that suits park home construction
A good system is one that balances:
- thermal performance
- moisture management
- durability
- compatibility with existing materials
In many cases, rigid boards with appropriate membranes and careful sealing can perform well, but the exact build-up should be based on the home’s construction, condition, and ventilation.
Step 5: Maintain consistent heating (avoid big temperature swings)
Park home condensation often worsens when a home is heated in bursts.
A steadier baseline temperature:
- keeps surfaces warmer
- reduces the chance of dew point being reached on walls
- improves comfort
Step 6: Monitor humidity (simple, cheap, effective)
A small hygrometer can help you understand what’s happening.
As a rough guide:
- 30-50%: typically comfortable
- 50-60%: watch for condensation in cold weather
- 60%+: higher risk of mould/condensation
If humidity stays high, focus on extraction and ventilation first.
When you should get a professional assessment
Get help if:
- mould keeps returning after cleaning
- you suspect moisture inside the wall/floor build-up
- floors feel persistently damp or bouncy
- you’re planning a major insulation upgrade and want it done once, properly
A good assessment looks at ventilation routes, cold bridges, existing insulation, and any signs of water ingress, not just “adding more insulation”.
Next Steps…
If you’re considering insulating your park home and want to avoid park home condensation issues, the best approach is to start with a quick assessment of ventilation, existing insulation, and cold-bridge risk, then specify an insulation build-up that suits the home.